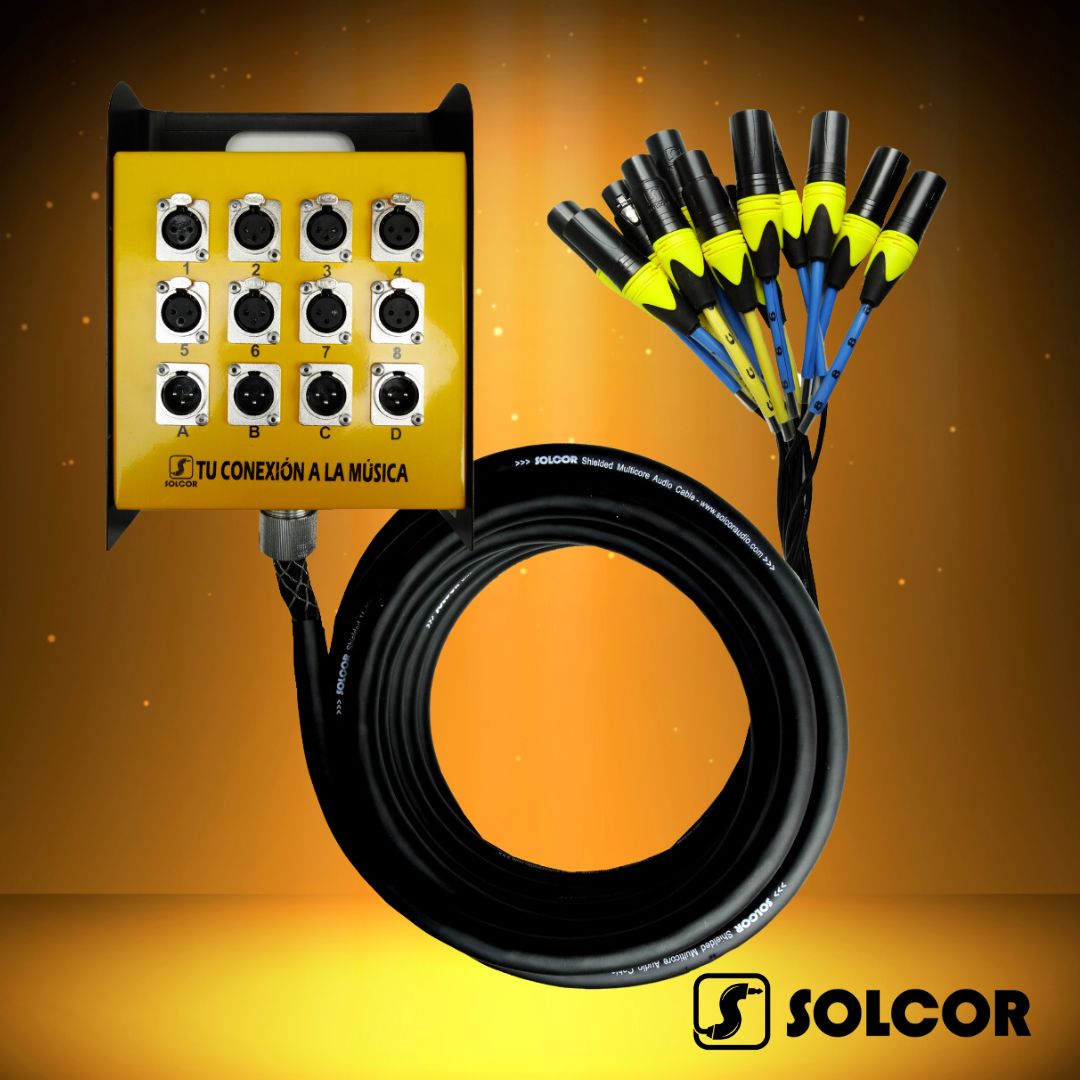
For a musician and/or musical technician it’s very important to take care of its snake devices, so just follow these easy 6 steps to coil your snake device properly, like a pro!
6 steps to coil snake device
1. Extend the cable:

Start by fully extending the snake cable on a flat surface. Make sure there are no twists or bends.
2. Create an initial “loop”:

Take the end of the cable and form a “loop” about 1 meter in diameter.
Keep the snake box stationary while performing this step.
3. Continue forming “loops”:

Without moving the snake box, start coiling the cable around the initial “loop,” forming new “loops” one on top of the other. Keep the cable tension consistent to avoid tangling.
4. Coil by holding the outer jacket:

When coiling, make sure to hold the outer jacket of the cable, not the internal wires. This will prevent damage to the wires and ensure a neater coil.
5. Protect the tip:

Avoid coiling the tip of the cable over itself or over the other cables or connectors. You can coil it into a small circle at the end to protect it.
6. Done! Tie and store:

Once the cable is coiled, tie it with an elastic band or string to secure it. Store the snake in its case or bag for transport and protection.
Additional tips:
- Practice the technique:
Practice will help you master the snake coiling quickly and efficiently.
- Avoid abrupt movements:
Use smooth and controlled movements when coiling the cable to avoid tangles or damage.
- Use the right surface:
Coil the cable on a flat, obstacle-free surface for better results.
- Store in optimal conditions:
Store the snake in its case or bag to protect it from dust, moisture, and other damage.
Remember:
Properly coiling the snake will not only save you time and effort but also help prolong the cable’s lifespan and keep it in good condition.

